
Campfire bread & ‘Roosterkoek’
How does one bake bread when camping? Well, the simple answer is, “You invite your mother”!
It is true that my mum can bake really good bread and with the help of our ‘vuurvarkie’ (fire piggy) she baked yummy bread on the fire during our three-week camping holiday at Yellow Sands.
And while we’re on the subject of bread, we’re also going to show you how my mum makes ‘roosterkoek’ on the fire (I’ll explain the Afrikaans word ‘roosterkoek’ later in the post).
Put it on the table – Campfire bread:
To be able to bake bread, you don’t need a lot – if you have the basic ingredients (and a ‘vuurvarkie’ when you’re camping), then you can eat freshly baked bread every day.

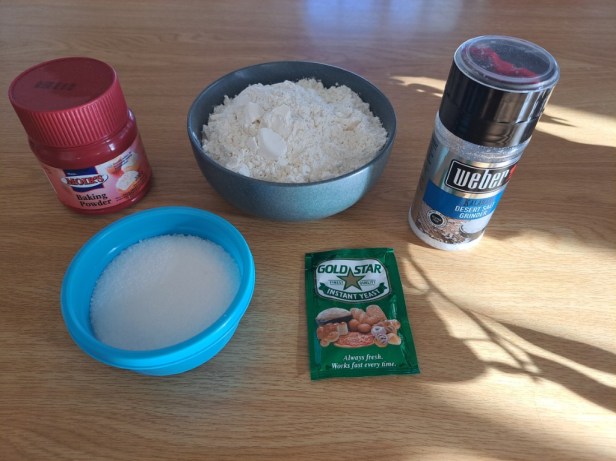
Ingredients for Campfire Bread
3 cups (750ml) cake/bread flour
1 packet (10g) instant yeast
2 teaspoons baking powder
1 teaspoon salt
lukewarm water
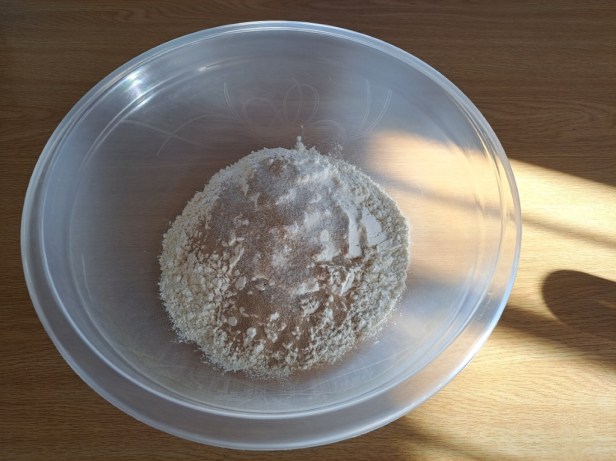
Add the cake/bread flour, yeast, baking powder, and salt to a mixing bowl. Mix through gently.
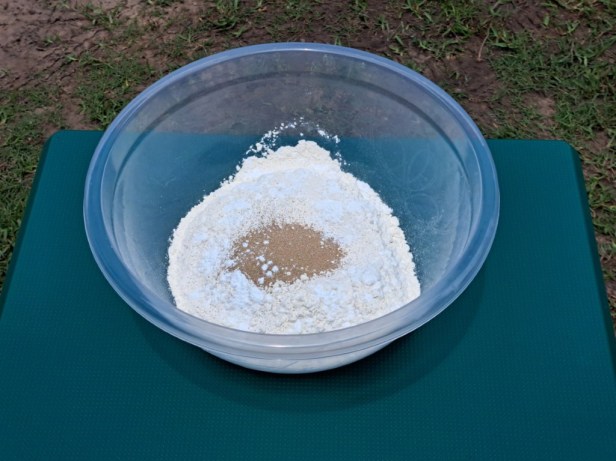
Mix all the dry ingredients
Stir in the lukewarm water. Start with just a little bit and add gradually more water until the dough begins to come together. Knead until it is smooth and elastic.
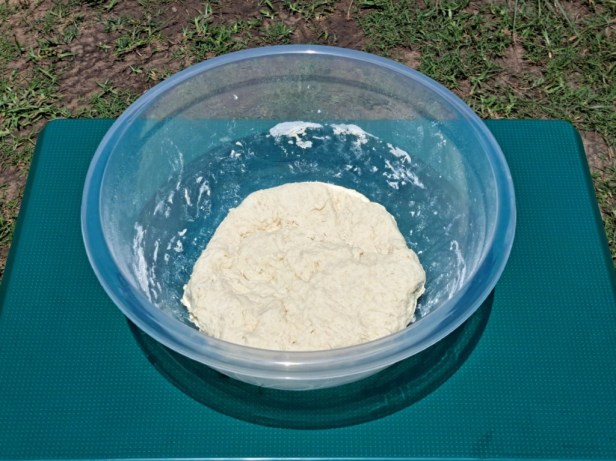
Bread dough
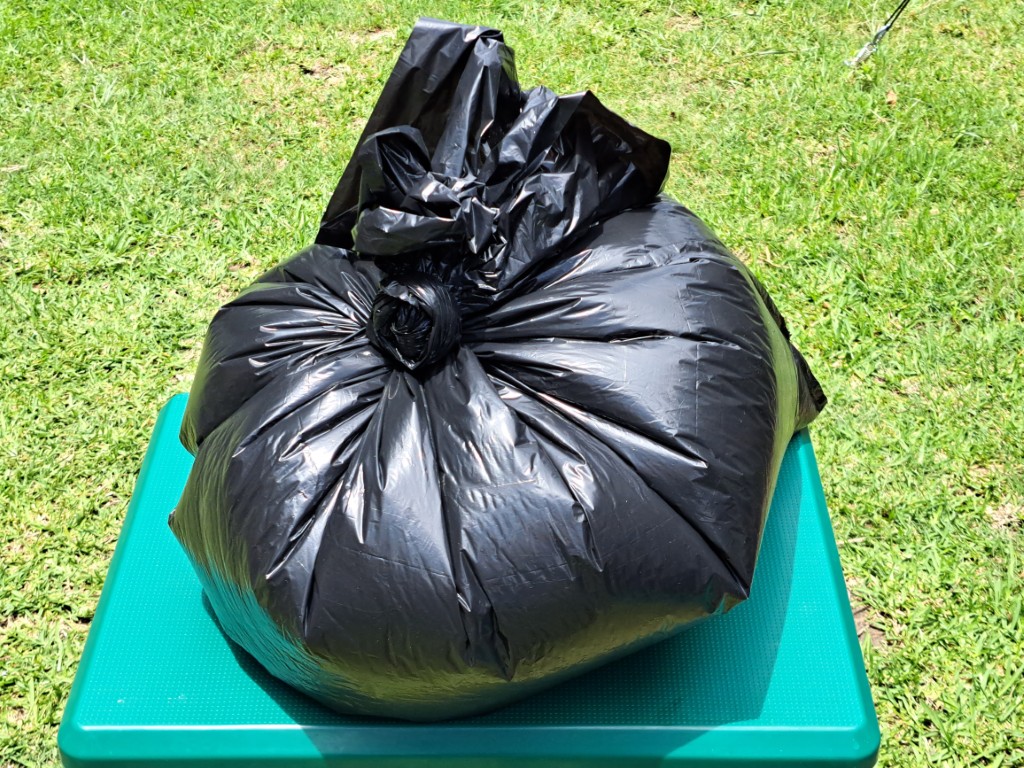
Now it’s time to set the dough aside and let it rise for about one hour. My mum baked this bread on a cloudy day, so the best option was to cover the bowl with a damp tea towel and then place it in a (clean) black garbage bag. Try to find a warm spot which is protect from any wind.
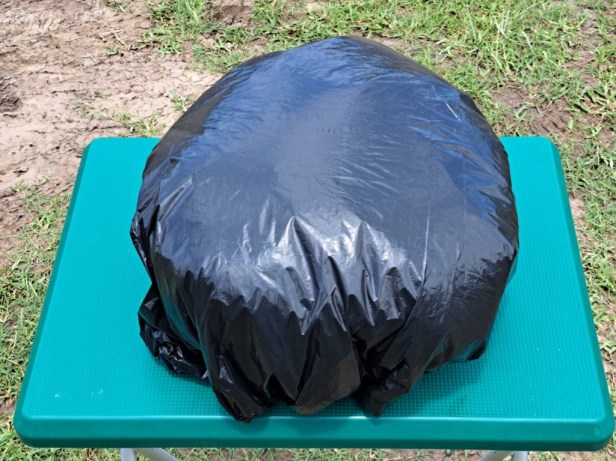
Bread dough needs to rise
After about an hour, the dough has risen. My mother lightly oiled a small bread pan and transferred the dough into it.
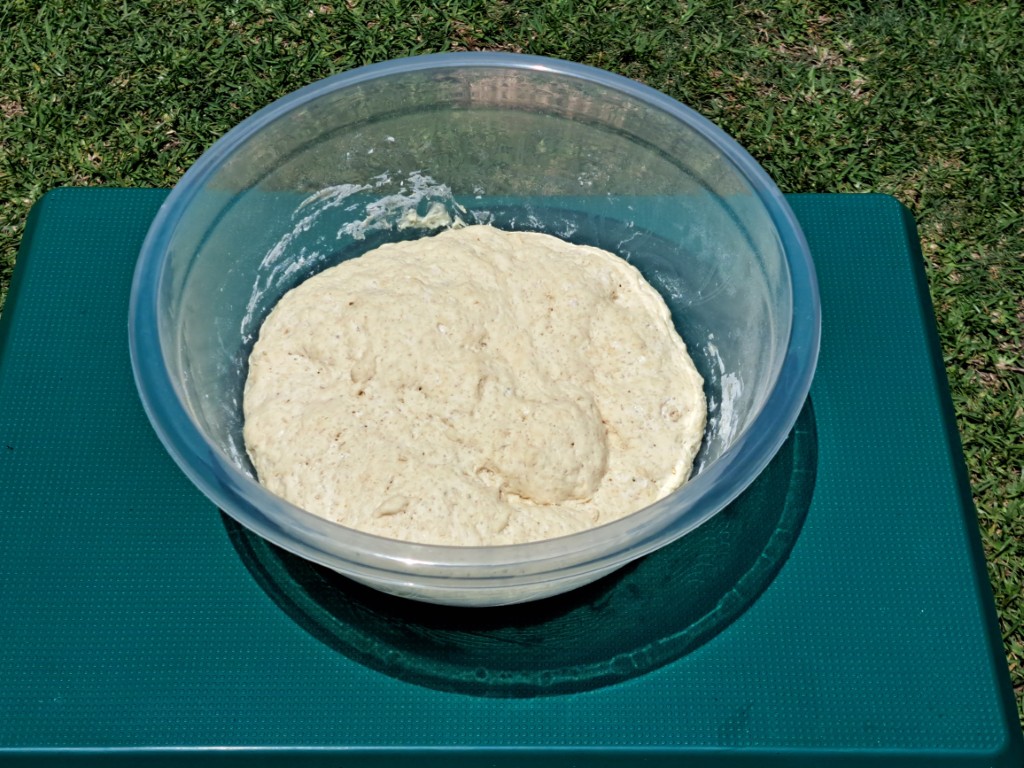
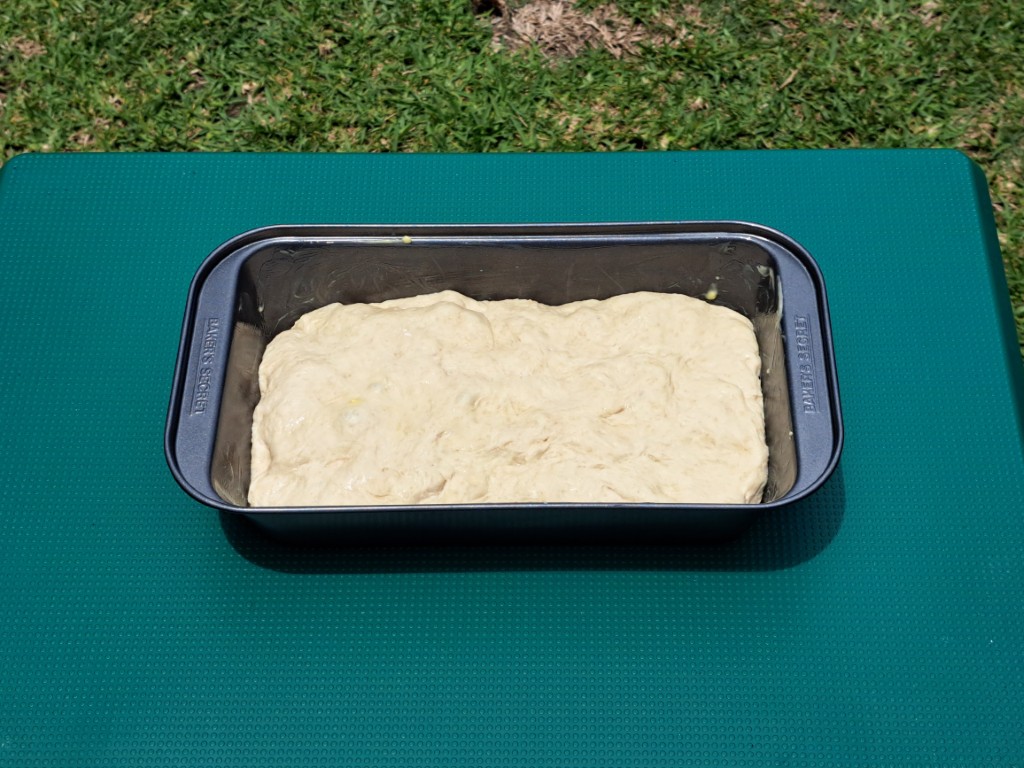
Risen dough transferred to bread pan
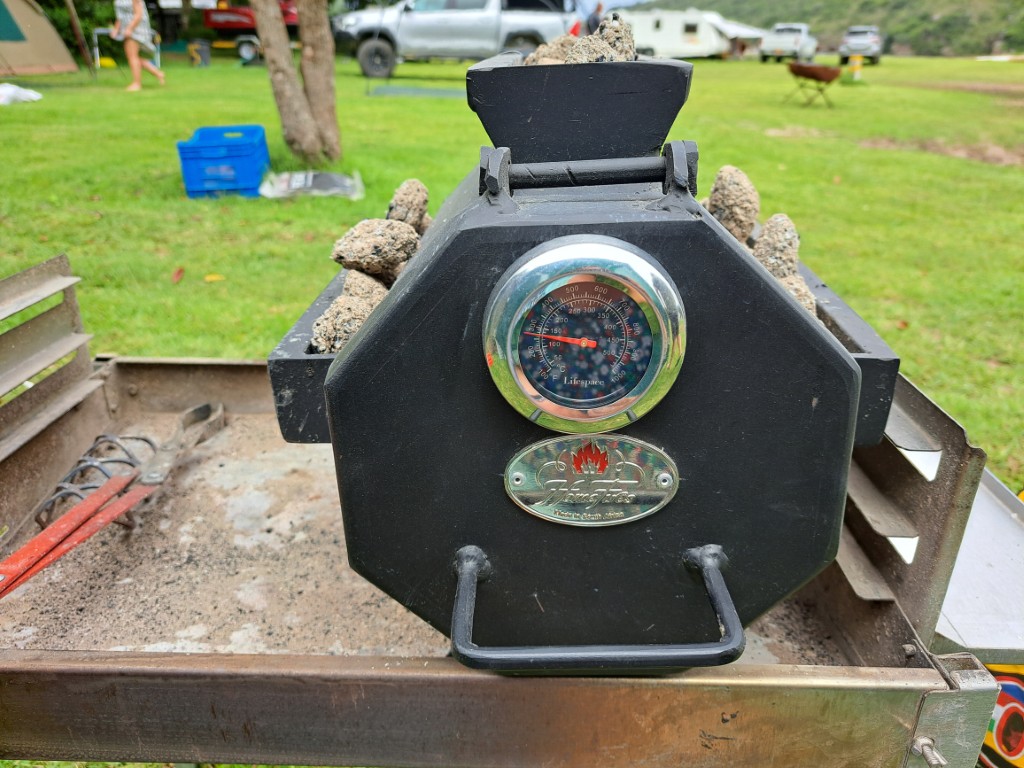
Usually, the bread pan will immediately go into the ‘vuurvarkie’, but the temperature was not yet right (160°C/320°F) and we had to put the bread pan back in the garbage bag until the ‘vuurvarkie’ was hot enough.
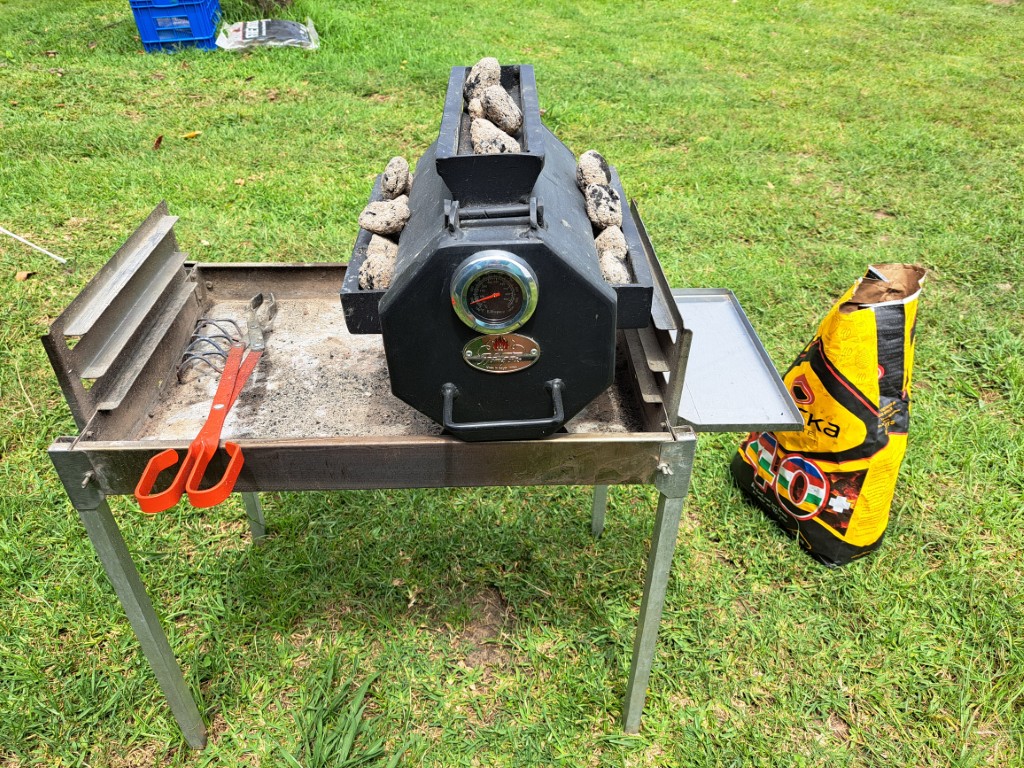
Bread pan back in the garbage bag and ‘vuurvarkie’ getting hot
The dough rose considerably while we waited for the ‘vuurvarkie’. Berto placed the bread pan in the ‘vuurvarkie’ and then kept the temperature constant with hot coals.
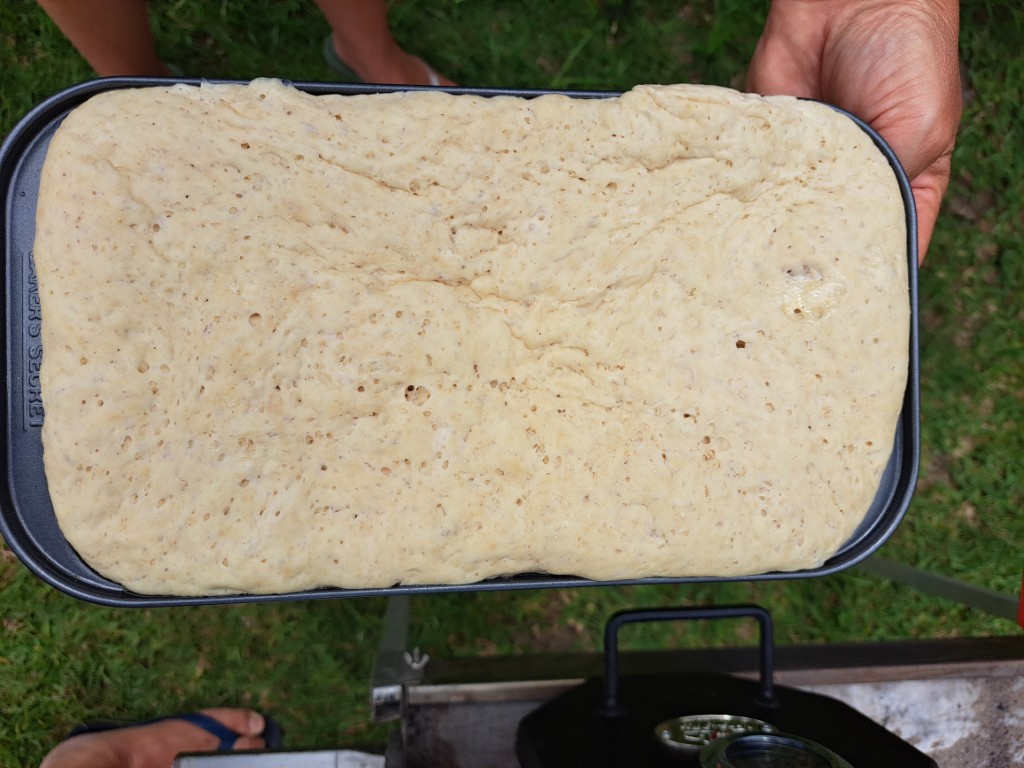
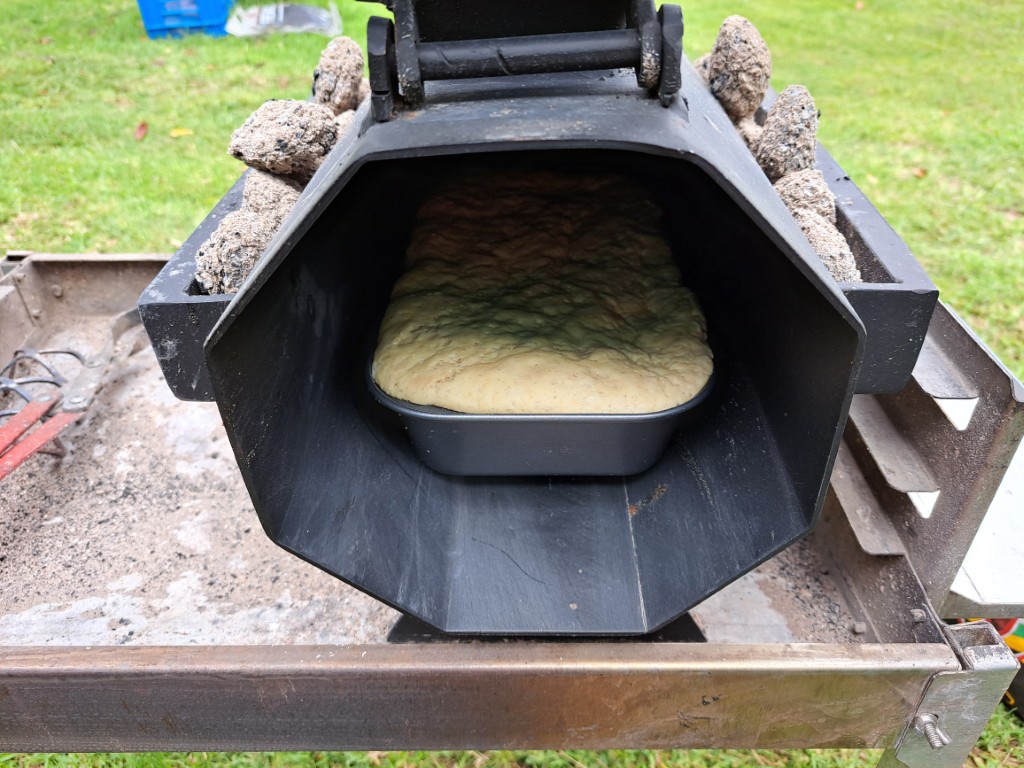
Bread pan goes into the ‘vuurvarkie’
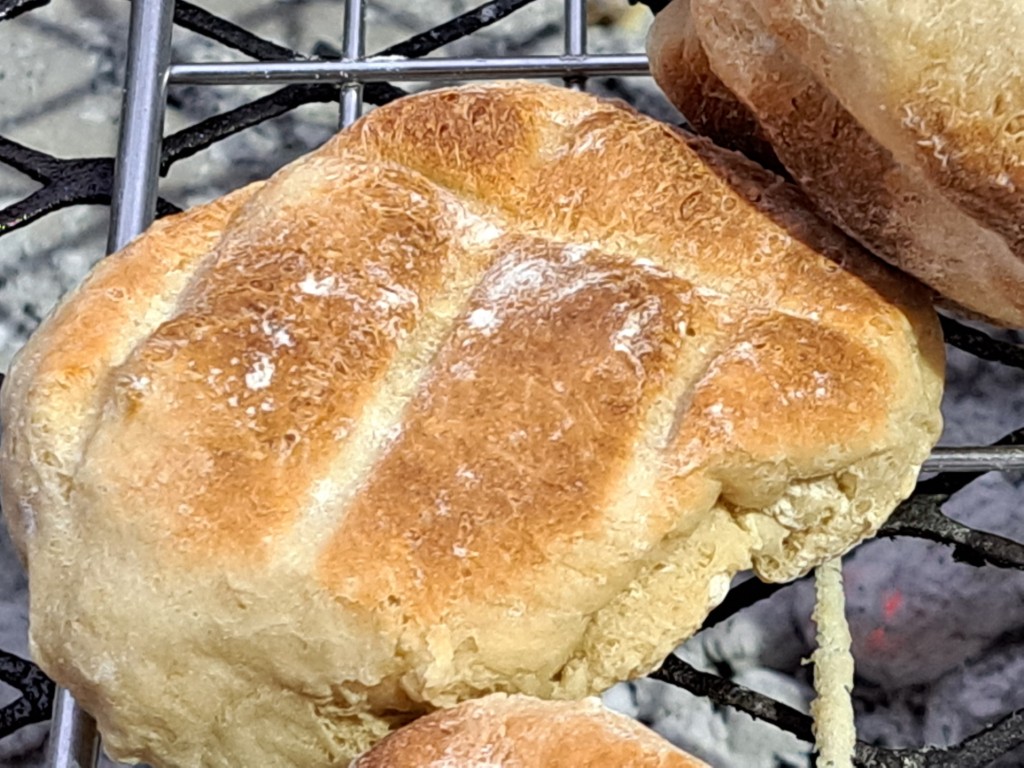
Bake the bread until its brown, about 30 minutes.
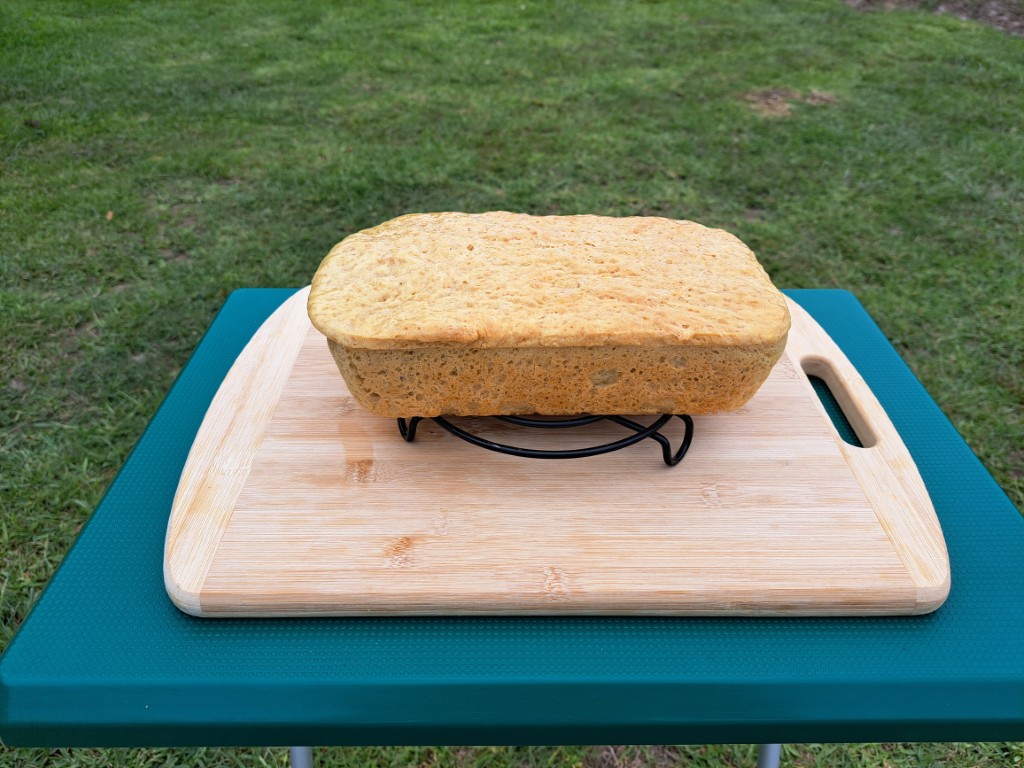
Campfire bread
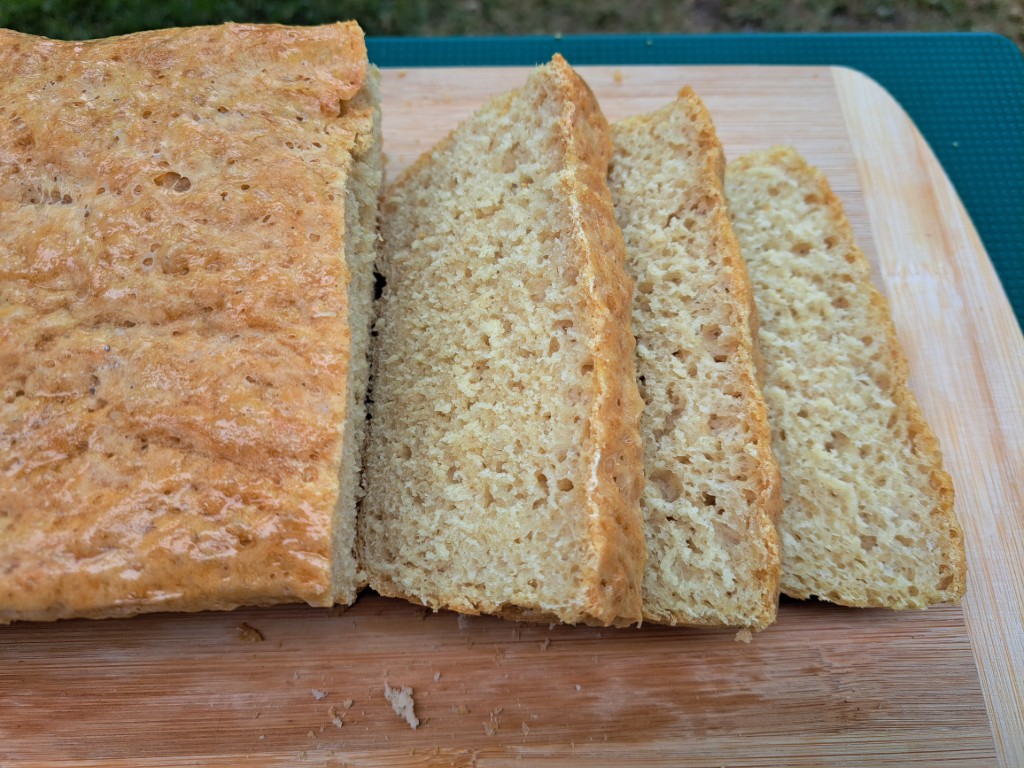
There are few things as delicious as warm freshly baked bread. On my first slice of bread is usually just salted butter, but it’s mandatory that the second slice should have apricot jam and grated cheese on it – that’s the best!
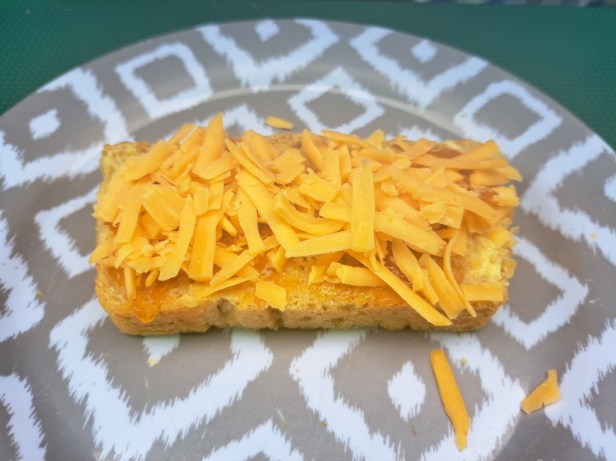
My favourite slice of bread in the whole world
As we each sat on a camping chair and enjoyed the delicious bread, we watched the sunset at Yellow Sands. At that moment, it was the best place in the world.
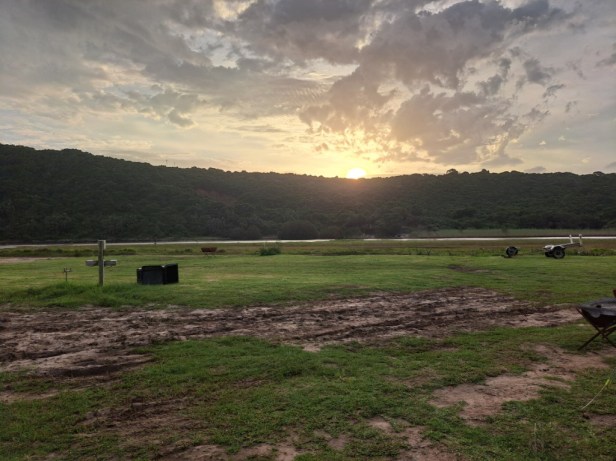
Sunset at Yellow Sands
‘Roosterkoek’:
Now, let’s quickly show you how to make the most delicious ‘roosterkoek’. While we were visiting Mansfield Private Reserve in January (read here), my mother made our favourite bread, namely ‘roosterkoek’.
What is ‘roosterkoek’?
‘Roosterkoek’ (literally grill cake – say ‘roor-stir-cook’ and try to roll those r’s!) is the traditional bread to accompany a ‘braai’ (BBQ). ‘Roosterkoek’ are simply balls of bread dough cooked on a grid over the coals and are best eaten piping hot and straight off the grid. (Source: Wikipedia)
Put it on the table – ‘Roosterkoek’:
The recipe is basically the same as for bread. For the ‘roosterkoek’ though, my mum just added a little sugar for a slightly sweeter taste.
Ingredients for ‘Roosterkoek’
2 cups (500ml) cake/bread flour
1 packet (10g) instant yeast
1 teaspoon baking powder
1 teaspoon salt
1 tablespoon sugar
lukewarm water
As with the bread recipe, add the cake/bread flour, yeast, baking powder, sugar and salt to a mixing bowl. Mix through gently.
Mix all the dry ingredients
Follow the same steps as with the bread by stirring in the lukewarm water. Start with just a little bit and add gradually more water until the dough begins to come together. Turn the dough out onto a lightly floured surface and knead for a few minutes. Press the dough slightly flat with your fingers.
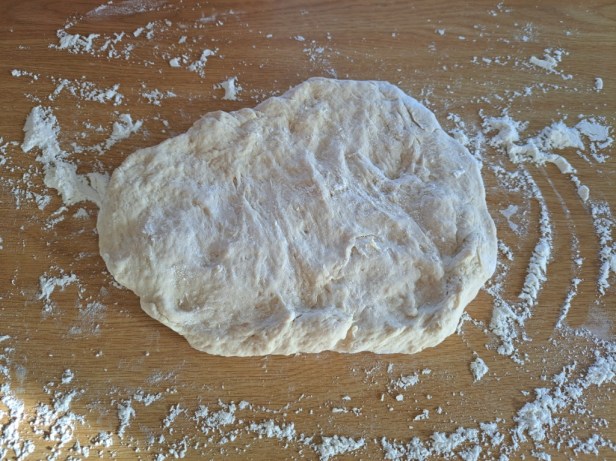
Flat dough
My mum uses a knife and cuts the dough into 8 roughly equal pieces, after which she shapes it into round balls. It’s placed on a floured baking sheet or tray (or in a flat glass bowl if that’s all you can find at your accommodation).
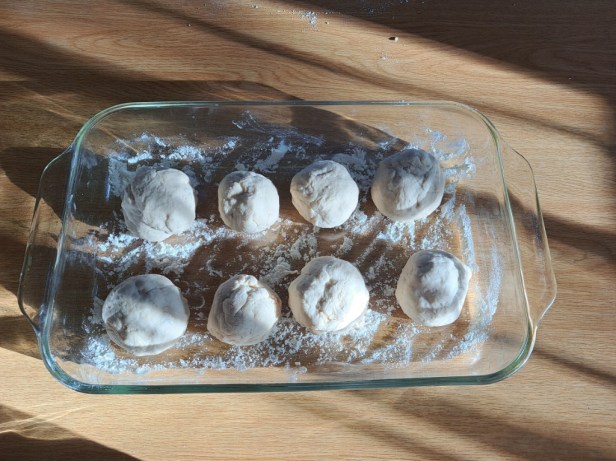
Balls of dough
Let the dough rise for about half an hour. Cover the tray/baking sheet/dish with clingfilm and something warm (the only warm thing I could find in our cottage was a fluffy blanket – which worked very well).

Somewhere under the blanket is the dough balls
When the coals are ready, place the ‘braai’ grid over and evenly distribute the coals. The coals should not be too hot. Place the rolls directly on the grid and turn frequently.
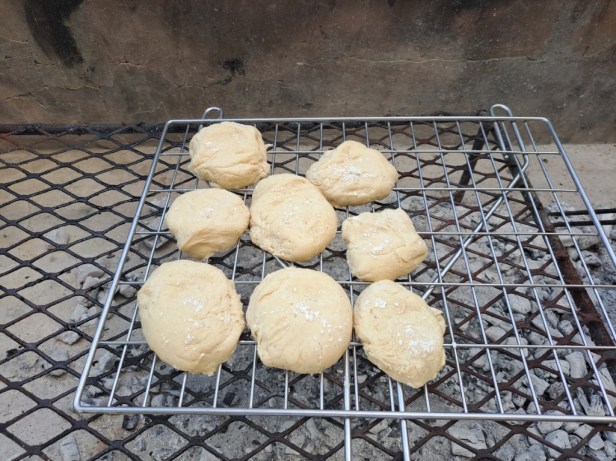
Dough balls changing into ‘roosterkoek’
The ‘roosterkoek’ is done when they are lightly browned, crispy on the outside and sound hollow when tapped.
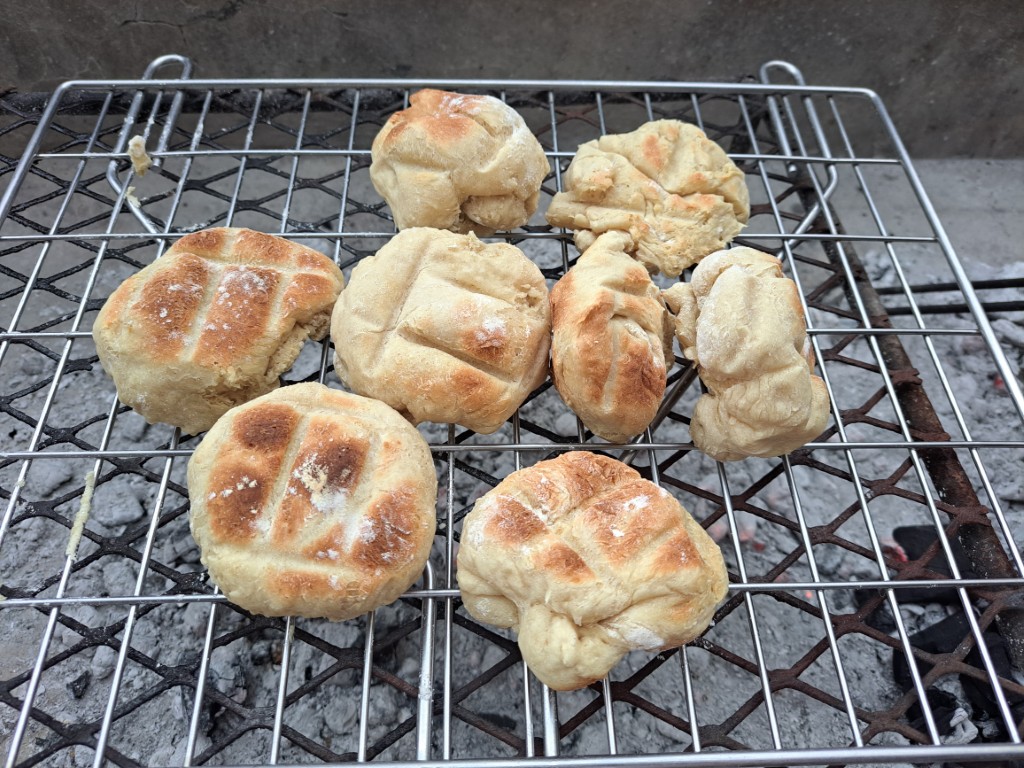
‘Roosterkoek’ almost done
Remove the ‘roosterkoek’ from the fire, split open and serve warm with butter (and apricot jam on the other half – this one is for dessert).
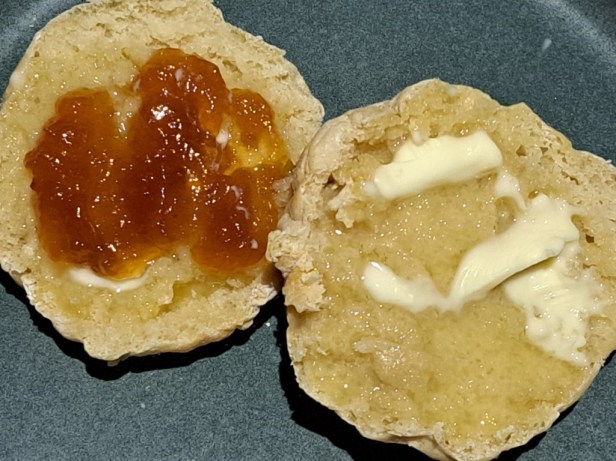
Traditional ‘roosterkoek’
And as was the case at Yellow Sands, we took our hot ‘roosterkoek’ outside and while eating them, we watched the sun go down at Mansfield Private Reserve.
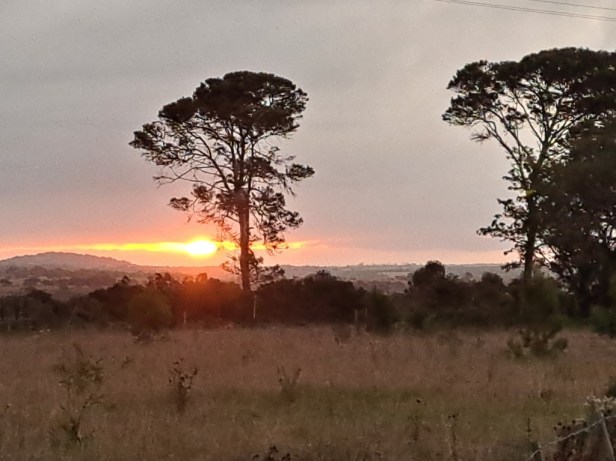
Sunset at Mansfield Private Reserve
You see – baking bread isn’t that hard … provided it’s my mum who makes it!

Very nice. Enjoy the moment.
LikeLiked by 1 person
Thank you – yes, we try to cherish and enjoy every moment.
LikeLiked by 1 person
Ag, hoe lekker lyk dit! Ons het baie keer die brood sommer in ‘n platboom ysterpot so in die kole gebak! My mond water!
LikeLiked by 1 person
O ja, dis natuurlik die ander opsie wanneer jy ‘n brood op die vuur wil bak. Ons het dit ook al gedoen, maar wou hierdie keer graag die varkie probeer en dit het wonderlik gewerk! Vars brood – dis darem maar net lekker verby!
LikeLiked by 1 person
Dis verseker. Vars gebakte brood is moeilik om te weerstaan!
LikeLiked by 1 person
Aren’t mum’s the best to rescue 😊. Both types of bread look fantastic. I shall try them later in spring or in summer. Now temperature is well below zero.
LikeLiked by 1 person
Haha, I’m telling you: Mums are the best! Oh, that sounds very cold in your part of the world Rupali — hopefully the warmer days aren’t too far off in the future. Maybe you need to bake a fresh loaf of bread in the oven and then eat it while the steam escapes from it … that should warm you up!
LikeLike
Apricot jam AND cheese! Well that’s a combination I’ve never tried. Sounds like your mum had the most wonderful time camping with you two. I bet she was reluctant to go home.
LikeLiked by 1 person
And here I thought apricot jam and cheese was such a common combination (but I read another comment from a South African who lives with her children in the USA that it is quite unknown to most people overseas). My mother, like Berto, loves to make good food … so, it was lovely to have the two of them together on a holiday! I think my mum would have liked to visit many other places here in the Eastern Cape, but she started to miss home (and her plants) in Langebaan – so she was not too reluctant to return to the West Coast again.
LikeLiked by 1 person
I can understand that, there is nothing quite like your own bed. And garden 🙂
LikeLiked by 1 person
These both look delicious, Corna. I’m not a bread baker, but Terry is; I’m sure he would enjoy making them.
LikeLiked by 1 person
Homemade food is always good, but homemade bread has to be the best! It must be nice to have someone in the house who can bake bread – you go Terry!
LikeLiked by 1 person
They look yummy!!
LikeLiked by 1 person
Freshly baked bread is definitely one of the tastiest, yet simplest meals there is in this world!
LikeLike
Boy could we have used your mum when we were camping in Sudan! She would have turned the ordel into an experience worth having! (Well, it taught me valuable lessons, but at a price!) Fresh bread is maybe my favourite food along with apricot jam. Wonderful.
LikeLiked by 2 people
My mother would certainly have helped you out … but I doubt she would have gone to Sudan with you (she likes a little adventure, but this might have been too much for her)! Absolutely, I love fresh bread with apricot jam (especially if that jam is homemade too)!
LikeLike
Ooo, sit ek hier en watertand! Skynbaar is appelkooskonfyt en kaas op brood ‘n eienaardige kombinasie vir ander mense – “hulle weet nie wat ons weet nie!”
LikeLiked by 1 person
Ek watertand ook! Kan Tannie glo, ek het nooit geweet dat appelkooskonfyt en kaas op ‘n broodjie nie algemeen bekend (en aanvaarbaar) is nie. ‘n Blogger van Engeland het juis daardie opmerking gemaak dat dit “vreemd” is. “AS hulle maar net weet wat ons weet”!!
LikeLiked by 1 person
She’s a treasure!
LikeLiked by 1 person
I’m not going to argue with you about this Jo – my mum is the best!
LikeLiked by 1 person
I could never choose which one to eat, they both look so delicious!!! What a great way to rise the dough with the black bag and blanket, where there’s a will there’s a way! Your mum’s the best.
LikeLiked by 2 people
Absolutely Diane! There is a saying in Afrikaans: “‘n Boer maak ‘n plan”, which translates to “A Farmer makes a plan” (white South Africans are mostly called farmers). And of course, I’m not going to disagree … my mum is the best (as you probably are to your daughter).
LikeLiked by 1 person
Thank you for that nice comment Corna!
LikeLiked by 1 person
This bread looks delicious.
LikeLiked by 1 person
Freshly baked bread is delicious … and home baked even better!
LikeLiked by 2 people
Agreed!
LikeLiked by 1 person
Freshly baked bread is the best. I had never thought to make it while camping.
LikeLiked by 1 person
Making bread on the fire when camping is a fairly common sight among South African campers … however, it’s not always that easy. But when you get it right, it’s the best!
LikeLiked by 1 person